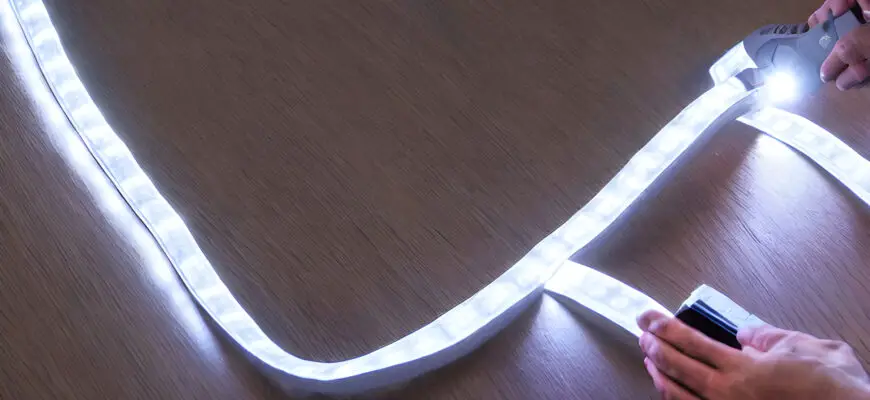
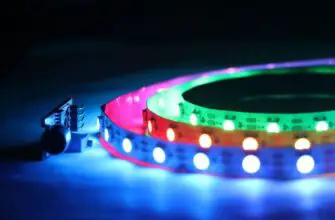
How to restick LED lights? LED strip lights have become increasingly popular due to their energy efficiency, long lifespan, and versatility.
These light fixtures are used in various applications, from home lighting to commercial displays. One common issue that users encounter with LED strip lights is their adhesive backing losing its stickiness over time.
This can be frustrating, as it hampers the flexibility and convenience of relocating the lights. However, there are solutions available to restick LED strip lights and restore their adhesive properties.
In this article, we will explore different methods and techniques to help you effectively address this problem and ensure your LED lights stay securely in place.
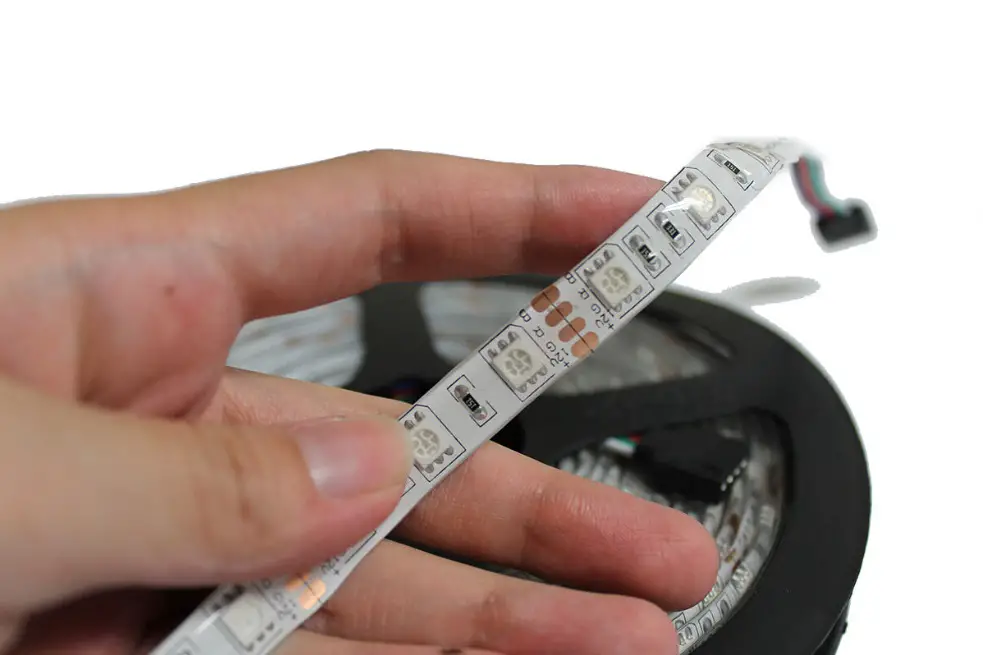
Methods to restick LED lights
If you want to stick LED strip lights securely, some several methods and materials can be used effectively.
Double-sided adhesive tape
This tape provides a strong bond between the LED light strip and the desired surface. It is essential to choose a tape specifically designed for LED strip lights to ensure proper adhesion and avoid any damage.
One advantage of using double-sided adhesive tape is that it allows you to remove and restick LED strip lights as needed. If you want to remove LED strips, start by gently peeling them off the surface. If there is any adhesive residue left on the surface, you can use a butter knife or your fingers to scrape it off carefully.
So, how to restick LED lights?
To re-stick LED strips, cut a fresh piece of the double-sided adhesive tape to the appropriate length and apply it to the back of the lights. Press firmly to ensure a secure bond and then stick the lights back onto the desired surface.
Cleaning the surface
Before attempting to restick your LED strip lights, it’s essential to prepare the surface properly. Clean the area where the lights will be mounted using a mild cleaning solution or isopropyl alcohol. This will remove any dust, dirt, or grease that may hinder the adhesive from adhering effectively.
Alcohol wipes
If the LED light strip has accumulated dirt or oil on its adhesive, you can try using alcohol wipes to clean it. Gently rub the adhesive surface with the alcohol wipe to remove any contaminants that might be affecting the stickiness.
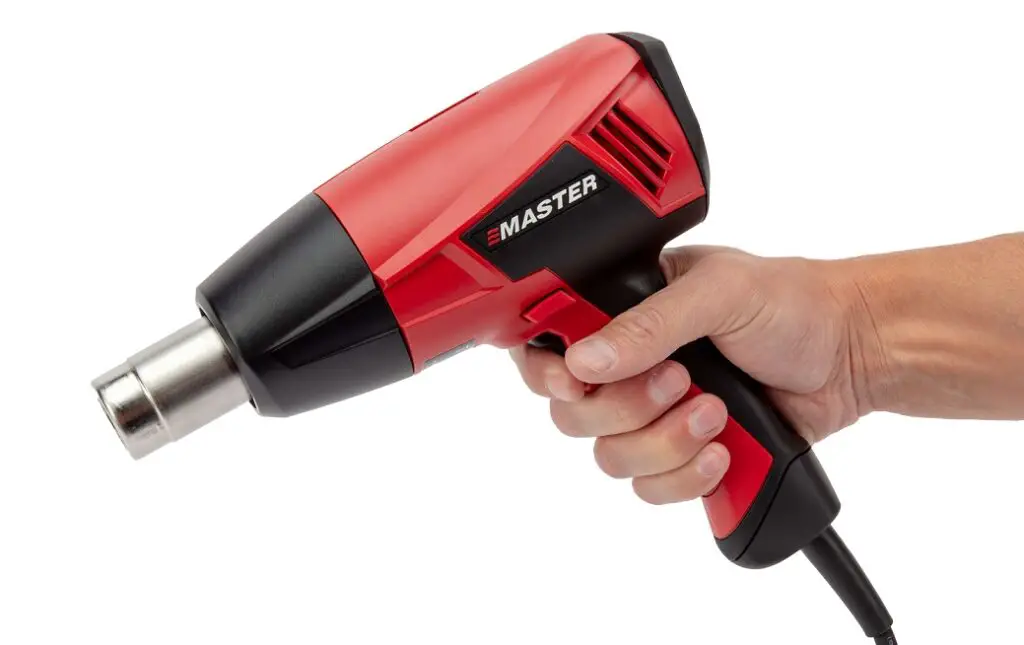
Heat gun or air dryer
In some cases, the loss of stickiness in LED strips can be attributed to factors such as temperature fluctuations or improper installation. To reactivate the adhesive, applying heat can be a viable solution. A heat gun or a hair dryer set to a low to medium heat setting can be used for this purpose.
By evenly applying heat to the adhesive backing, you can help it regain its tackiness, facilitating a strong bond when resticking the lights. It’s important to exercise caution and avoid overheating the lights, as excessive heat can damage the components.
Maintain a safe distance between the heat source and the lights, and monitor the temperature to ensure it remains within a suitable range.
Mounting clips or brackets
If resticking the LED light strips directly is not an option, you can consider using mounting clips or brackets.
These accessories provide an alternative method of securing the lights in place without relying solely on the adhesive backing. Mounting clips or brackets can be attached to the surface using screws, nails, or adhesive, and the LED strips can then be inserted or clipped into them.
Mounting putty: Another option to consider for resticking LED strips is using mounting putty. Mounting putty is a reusable adhesive material that provides a temporary bond.
It can be shaped and molded to fit the back of the LED lights and the surface. To remove the LED strip, simply peel off the putty from both the lights and the surface.
When re-sticking the LED strip lights, knead the putty to make it pliable, then apply it to the back of the lights and press firmly onto the desired surface.
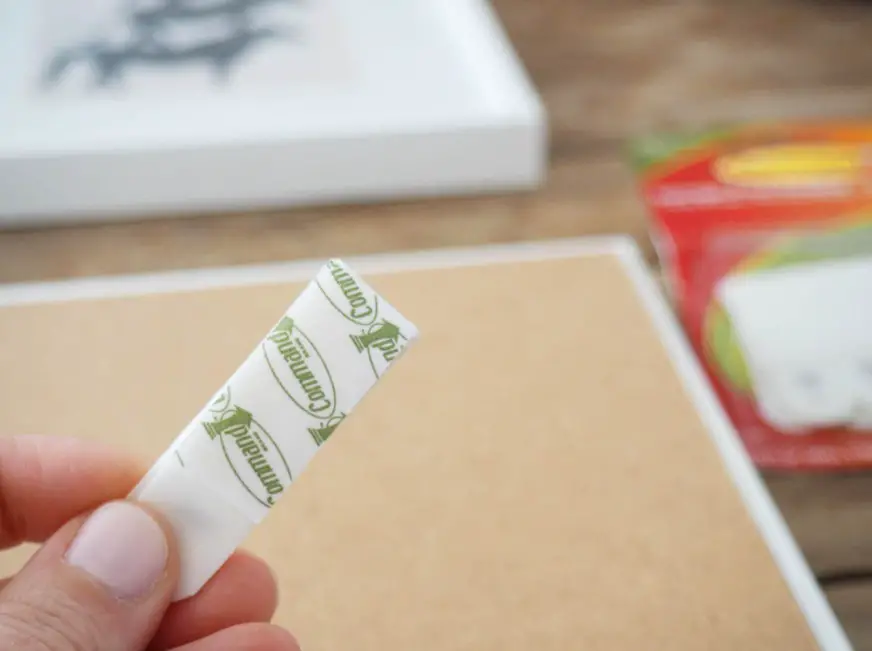
Command strips
Command strips are specifically designed adhesive strips that provide a convenient and damage-free solution for resticking lights.
These strips are removable, leaving no residue or marks on the surface when used correctly. To use command strips, start by cleaning the surface with isopropyl alcohol to ensure proper adhesion.
Apply the command strips to the back of the lights, following the manufacturer’s instructions. Make sure to apply enough strips to provide adequate support and coverage. Press firmly to ensure a secure bond between the LEDs and the command strips.
Once the strips are in place, remove the protective liner and carefully position the LEDs on the desired surface, applying even pressure to ensure a strong attachment.
Command strips offer a reliable and hassle-free option for resticking lights, allowing for easy removal and repositioning without any damage or residue.
Epoxy resin
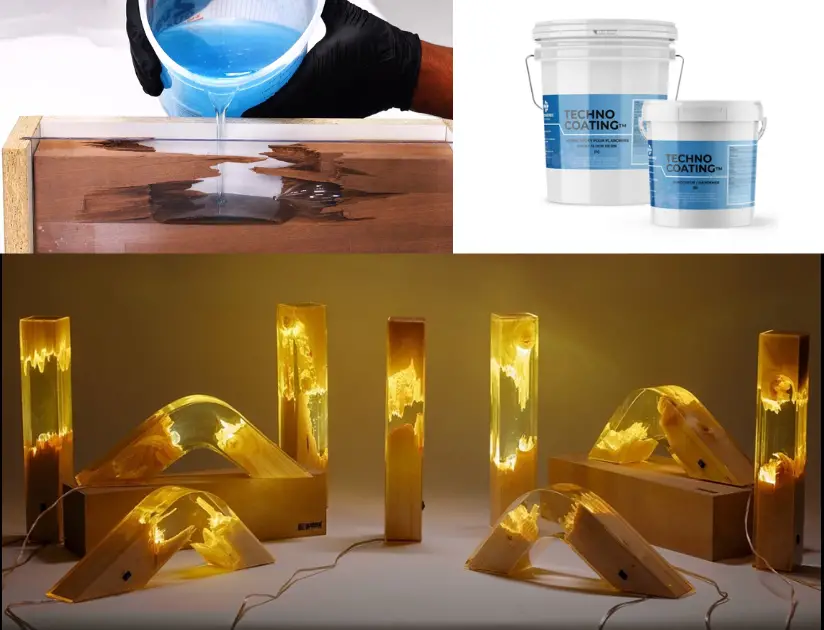
For a more permanent solution, you can use epoxy resin to secure the LED strips.
Mix the resin according to the manufacturer’s instructions, apply it to the back of the LED light strip, and firmly press it onto the surface. Epoxy resin provides a strong and durable bond but remember that it may not be suitable if you plan to remove the lights in the future.
Silicone adhesive
Silicone adhesive is another option for resticking LED light strips.
Apply a small amount of silicone adhesive to the back of the light strip and press it onto the surface. Silicone adhesive provides a flexible and durable bond, making it a good choice for applications where the lights may need to be removed and repositioned occasionally.
Velcro strips
Using Velcro strips can offer a convenient way to restick LED light strips.
Attach one side of the Velcro to the back of the lights and the other side to the desired surface. This allows for easy removal and reattachment whenever necessary.
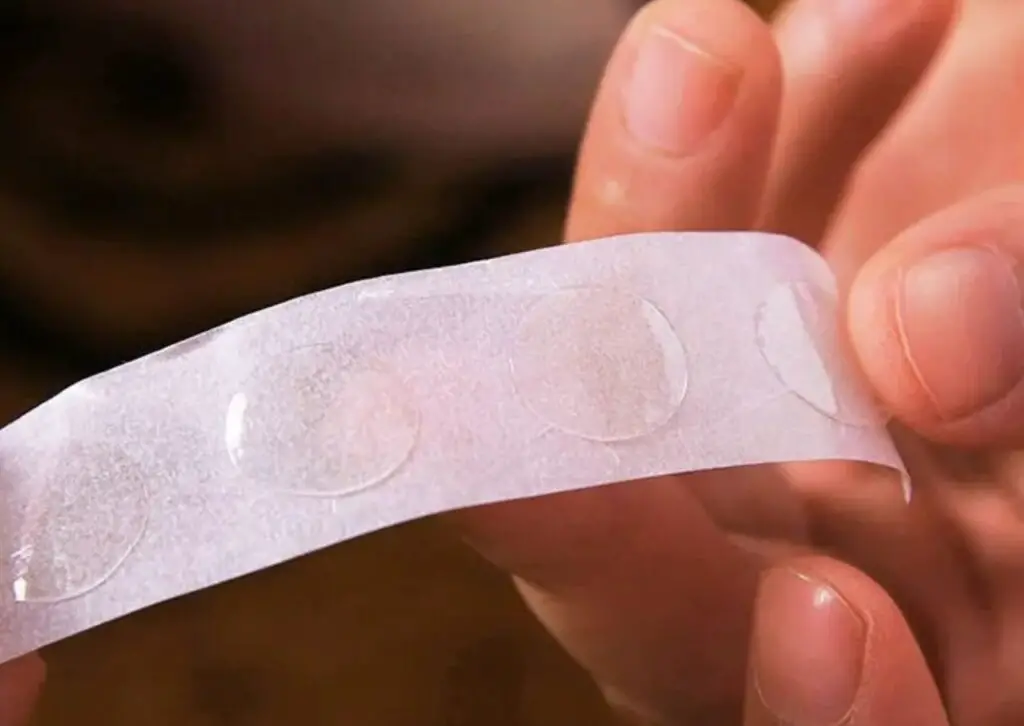
Glue dots
Glue dots are small adhesive circles that can be used to restick LED light strips. Apply the glue dots to the back of the lights and press them onto the desired surface. Glue dots provide a temporary bond and can be easily removed without leaving residue or damaging the lights.
Hot glue: In some cases, hot glue can be used to stick LED strips more permanently. However, it’s important to exercise caution when using hot glue, as it can be messy and difficult to remove without damaging the lights or the surface.
If you choose to use hot glue, apply a small amount to the back of the LED lights and quickly press them onto the desired surface. Be mindful of the hot glue on the LED lights, as excessive heat can cause it to melt or lose its stickiness.
Silicone caulk
Silicone caulk is a waterproof adhesive that can be used to restick LED light strips in damp or outdoor environments.
Apply a small amount of silicone caulk to the back of the lights and press them onto the surface. Ensure the caulk is evenly distributed and allows for a secure bond.
Magnetic strips
Magnetic strips offer a unique and versatile solution for resticking LED light strips.
Attach a magnetic strip to the back of the lights and position them on a metal surface. This allows for easy removal and repositioning without any adhesive residue or damage to the lights.
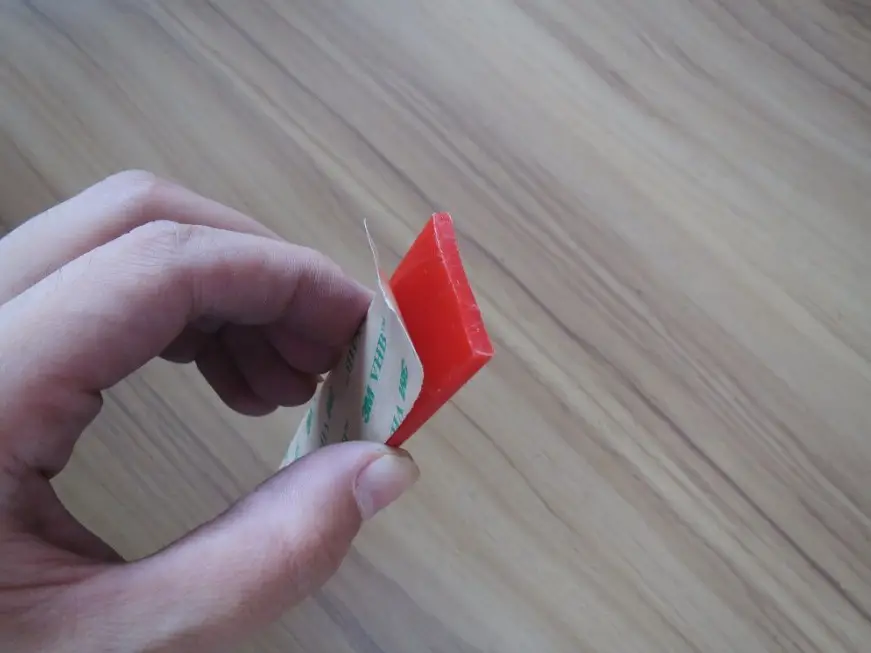
3M VHB tape
3M VHB (Very High Bond) tape is a strong adhesive that provides excellent bonding for a LED strip.
Cut the tape into appropriate lengths and apply it to the back of the lights. Press firmly to ensure a secure bond, and then attach the lights to the desired surface. 3M VHB tape offers a long-lasting bond and is suitable for both indoor and outdoor applications.
What else to consider
For outdoor lighting applications, it’s important to choose LED light strips that are specifically designed for outdoor use and have a suitable adhesive backing. Outdoor LED light strips are typically more resistant to moisture, UV exposure, and temperature fluctuations. This ensures that they remain securely attached and durable in various weather conditions.
Lastly, if you’re looking for a way to add temporary and removable bright-colored LED lights to a surface, you can consider using adhesive strips or tapes specifically designed for this purpose. These strips or tapes often come in various colors and patterns and can be easily stuck and removed without leaving a sticky residue.
How to remove LED strip lights
To remove LED strip lights and then possibly reuse LED light strips, start by disconnecting the power supply and turning off any connected switches or controllers.
This precautionary measure is crucial to avoid the risk of electric shock during the removal process. Once the power is safely disconnected, proceed with the following steps:
First step
Gently peel off the LED light strips from the surface to which they are attached. Depending on the adhesive used, this step should be relatively easy. However, if the adhesive is particularly strong or if the lights have been in place for a long time, you may need to apply a little extra care and patience.
If you encounter any resistance while peeling off the LED light strips, use a flat object like a plastic card or a putty knife to help lift the adhesive. Insert the flat object under the strip and slowly pry it away from the surface. Be cautious not to damage the wall paint or any delicate surfaces.

Second step
As you remove the LED light strips, check for any remaining sticky residue left behind by the adhesive. If you notice any residue, gently rub it with a clean cloth or sponge dampened with isopropyl alcohol. This should help dissolve and remove the sticky residue effectively.
In cases where the LED light strips are held in place by an adhesive strip, carefully peel off the adhesive strip from the back of the lights. Start at one end and slowly work your way across, using a moderate amount of force to ensure the strip separates from the lights without causing damage.
Third step
When you remove LED light strips, you can proceed with your desired adjustments or installations.
If you plan to re-stick the LED strips, clean the surface thoroughly to remove any dust, dirt, or remaining adhesive residue.
Following the guidelines mentioned earlier in this text, you can effectively re-stick the LED light strips using methods such as double-sided tape, command strips, or adhesive alternatives like Velcro strips or glue dots.
It’s important to note that the steps, whether you want to remove or re-stick LED strips — may vary slightly depending on the specific brand or model of the lights. Always refer to the manufacturer’s instructions for any specific guidelines or recommendations they provide.
FAQ
If you still have some questions on the topic of how to restick LED light strips, here are the answers to them.
Can you remove LED lights and put them back on?
Yes, the LED strip can typically be removed and put back on, depending on how it is initially installed.
If the LED strip is attached using the adhesive backing, the stickiness of the adhesive may diminish over time, making it necessary to find alternative methods to restick it.
The methods mentioned in the previous text, such as using double-sided tape, mounting clips or brackets, command strips, Velcro strips, glue dots, or magnetic strips, can help with removing and reattaching your LED strip light as needed.
What is the best glue for LED strip lights?
How to restick LED lights with a glue? When it comes to choosing the best glue for LED strips, it depends on the specific requirements of your application. Here are a few options that are commonly used:
– Epoxy resin: Epoxy resin provides a strong and durable bond, making it suitable for applications where the LED lights need to be permanently secured. However, it may not be the best choice if you plan to remove the lights in the future.
– Silicone adhesive: Silicone adhesive offers a flexible and durable bond, making it a good choice for applications where the light strip may need to be removed and repositioned occasionally.
It is also resistant to moisture, making it suitable for outdoor or damp environments.
– 3M VHB tape: 3M VHB (Very High Bond) tape is a strong adhesive tape specifically designed for bonding applications.
It provides excellent bonding for lights and offers a long-lasting bond. It is suitable for both indoor and outdoor use.
Furthermore, it’s important to consider factors such as the intended application, removal flexibility, durability, and the surface to which the LED lights will be attached when selecting the best glue or adhesive for your LED strips.

Conclusion
Losing the stickiness of LED lights’ adhesive backing is a common issue that many users face. However, with the right techniques and solutions, you can restick LED light strips effectively and restore their functionality.
Whether it’s cleaning the surface, using double-sided tape, employing alternative mounting options, or exploring specialized adhesives, there are numerous ways to address the problem. You can try this guide with common LED light strips such as Minger LED strip lights or whichever you want.
Remember to choose a method that suits your specific needs and consider factors such as removal flexibility, durability, and the intended application of the LED light strips.
With these methods at your disposal, you can enjoy the convenience and versatility of LED lights while ensuring they stay securely in place.
