Attaching LED lights anywhere in your home creates a fun and happy ambiance. Since they are so simple to install and operate, a lot of us prefer to use them to decorate our houses.
A strip of LED lights might, however, occasionally come off the wall. Or maybe there will come a time you will want to change the location of your decoration. In this situation, people begin to worry about how it can be repaired or re-sticked without leaving leftover adhesive residue.
We, therefore, decided to answer these questions further today to help you resolve this issue effortlessly: how can the LED light strip be removed without causing damage to the wall, and, if it already became a problem on the wall’s surface, how to remove LED strip lights adhesive properly?
The number-one way to remove LED strip light adhesive
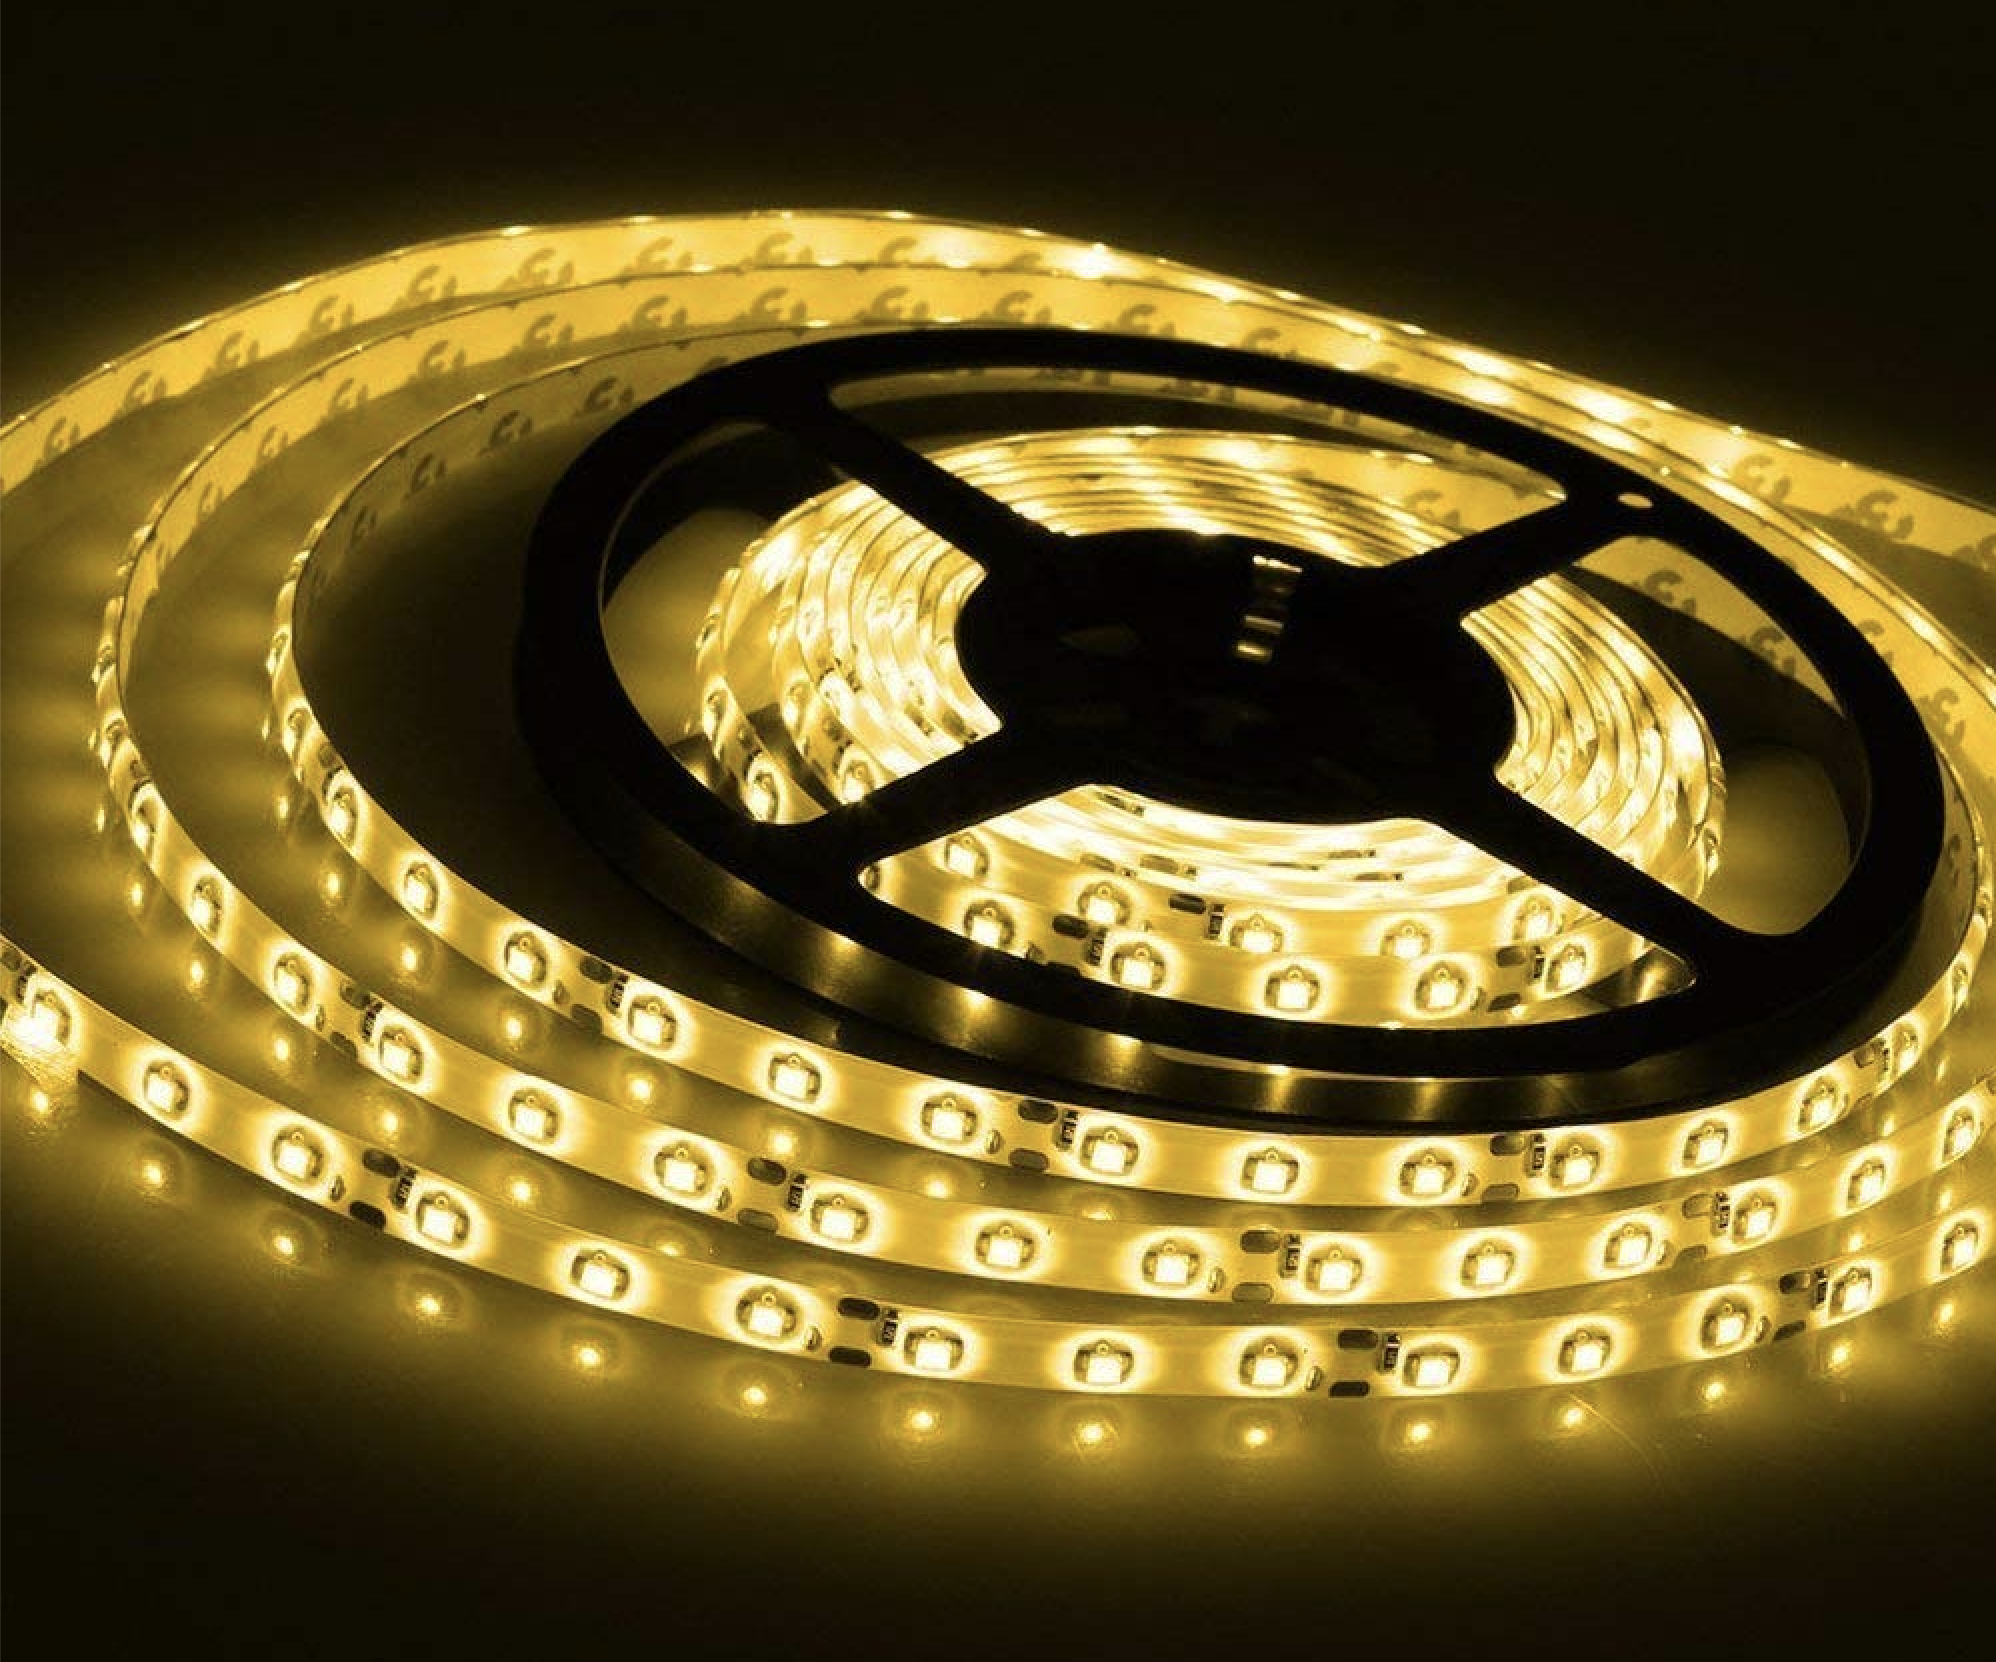
LED strips may be used in a variety of fantastic ways to create beautiful lighting effects in your house. But there may be situations when you decide to take them off and see some unwanted sticky residue left on your wall.
With that in mind, we chose to introduce you to the first method that is the quickest, simplest, and safest.
How to remove LED strip lights adhesive effortlessly? Just follow these six steps.
1: Unplug the LED strip lights
This initial point sounds obvious but it is essential. You can’t start working with your LED strip lights without unplugging the LED lights from the socket first. Otherwise, you risk getting an electric shock!
2: Clean the surface
It is crucial to prepare the surface by cleaning it with rubbing alcohol or another cleaning agent before you begin removing the glue. Any debris or dust that might be getting in the way of your job will be removed thanks to this. Don’t move on to the next steps until you are certain that the surface is entirely dry.
3: Warm up the adhesive
Before removing the light strip, warm the glue (a hair dryer works excellent for this) to prevent damaging the wall. The heat should be directed precisely where you need it.
Slowly and on low to medium heat, move the hair dryer along the length of the LED lights. All the adhesives should soften and come away without causing any harm. Without removing any wall paint, it will be simpler to remove the strip lights. Apply the heat until you can peel the strip off with less effort.
4: Remove LED lights
It is simpler to begin at the end of the LED lights strip. Doesn’t matter which one: locate an end that is convenient for you. A thin, flat object is also necessary, such as a coin, which is ideal, especially a dime. A butter knife or a credit card are the best options. Whatever you choose to use, take care not to chip the paint.
The object should be slid under the corner of the LED lights strip. You can be gentle with the adhesive because the heat should have made it pliable. When one corner is raised, continue jiggling the object along the cord’s length until you reach the other end.
5: Scrape the adhesive off the LED strips
Use a putty knife to scrape the heated LED strip light adhesive from the surface of your LED strip lights. To remove all the adhesives, begin at one end and continue along the strip. Avoid using excessive force or harshness to avoid damaging the LED strips.
6: Clean the wall from the glue of the LED strip lights
After you’ve completed removing the glue with a scraper, it’s crucial to clean up any leftover material.
Just take a cloth or paper towel and dunk it in a solvent (preferably, acetone, rubbing alcohol, or isopropyl alcohol). Apply the saturated fabric to the glue and let it sit for a few minutes. You should then remove the remaining adhesive by rubbing it with the cloth in a circular motion.
If necessary, carry out this procedure once more to get rid of all the adhesives. However, since the vapors can be potent, employ this procedure only in a well-ventilated environment.
And with that, the task is done! Use double-sided tape if you intend to find another place to restick LED light strips.
How to remove LED strip lights adhesive: next top 3 ways
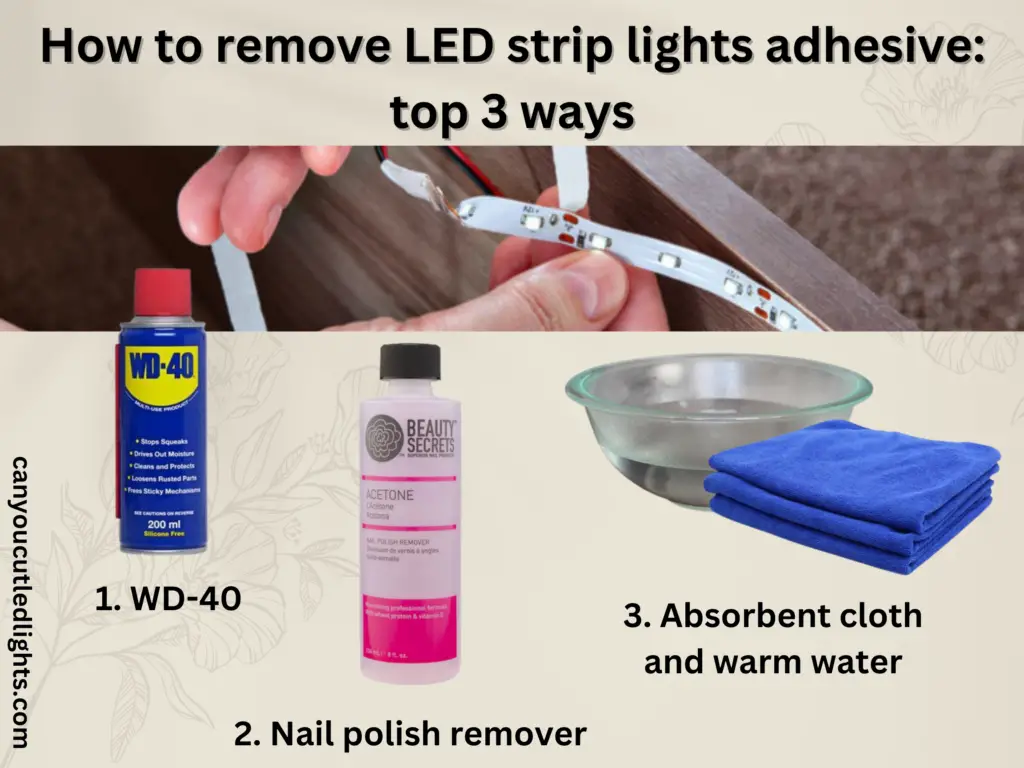
If you are having certain problems applying the first technique, or you’d prefer to try something else, here are 3 other options for you to help with the issue of how to remove LED strip lights adhesive.
1. The use of nail polish remover
Take a bowl, pour warm water, and add some nail polish remover. For five to ten minutes, soak the cotton balls or pads in there. Ensure that they are completely covered by the mixture!
When you’re sure that enough time has passed since you put your pads in the bowl, take them out and lay them down on a clean and dry sheet of paper or towel, so they won’t get soiled or damp.
The edges of the adhesive strip can now be lifted to see if it’s ready to break off in a good, clean break. If you find it difficult, we recommend you utilize tweezers or pliers for this purpose.
When you can easily grab a hold of one of the strips and lift it, peel the adhesive strips back. You must make sure you are not tearing your LED lights when removing them.
Check under each strip for any leftover residue that may have old adhesive fragments on it. If you find some, use your cotton pads soaked in the nail polish remover to remove them by rubbing the wall gently.
In some cases, this method may not be perfectly functional. So, here come other ones for you to try!
2. The use of absorbent cloth and warm water
Using an absorbent cloth and warm water will let you remove the adhesive from your LED strip lights without endangering them.
Soak the cloth in warm water first, and then wring it out. The glue should then be covered by the cloth, and you should wait a little while to let the warmth and moisture from the fabric soften it. Finally, gently take off the glue using a scraper or, if you’d like, your fingertips.
As you know, numerous types of LED lights exist (such as Minger LED strip lights, Phopollo LED lights, and other strips with LED bulbs), but this cleaning procedure, which is both easy and efficient, can be safely performed on all types of LED strip lights.
3. The use of WD-40
LED strip light adhesive removal from a wall can also be attempted using a heavy-duty lubricant. You’ll need WD-40, gloves, and a rag or some paper towels to complete this first.
Begin by spraying the lubricant over your strip, spreading it evenly with a towel, and then waiting somewhere around half an hour for the adhesive to dissolve. After then, you ought to be able to raise it without difficulty.
You can start picking up an edge and carefully peeling the strips off if you’re comfortable with how much time has gone since you sprayed your strips with lubricant. Make sure the strips stay flat against the wall while you work. By doing this, you will remove LED lights without pulling them completely off, which is what would happen if you pushed too hard or peel off the adhesive when it’s still strong and securely connected.
Once all of your LED strip light adhesive from wall pads were taken off, carefully check underneath each one for any sticky residue that might have adhesive scraps on it.
If there are any of those, get rid of them right away so that no mark is left on your wall. Clean your wall with some soap and water or, better yet, with alcohol or ammonia.
Precautionary notes & tips
- Remember that when you are working with chemicals, gloves are an absolute must.
- Ensure that the room you are working in is properly ventilated, a gas mask or respirator is advised.
- To make sure you are not allergic to the adhesive remover, perform a patch test on a small, unimportant area first.
- To prevent scratching the surface, use a soft-bristled brush or an old toothbrush.
- Remove the adhesive, then thoroughly rinse the area with water.
- Before using new glue for installing LED lights, properly dry the area.
- Keep the solvents out of children’s reach. If a considerable amount was digested, don’t try to make a person throw up and go to the hospital right away.
- Keep the adhesive away from an open fire.
- Problems may arise if your wall is painted, wallpapered, or merely plain drywall. These surfaces have multiple delicate layers, making them more prone to damage.
How can LED light strips damage the wall surface?
Most LED strips cause harm to your wall by ripping off the plaster, stripping paint, and leaving behind an adhesive that may turn out quite difficult to get rid of. Each of these will be covered in more detail further on.
Wall paint may be removed if you are trying to get the LED strip lights off. If the glue is securely adhered to some locations along the LED strip light, pulling at those spots with force will cause the paint to come off.
To take the LED strip lights off without harming the paint, use a heat tool or hair dryer. The glue will weaken due to the heat from the hairdryer, making it simpler to remove without damaging walls.
Conclusion

We hope you can see that reattaching LED lights, which are undoubtedly one of the most practical lighting elements a person might install in their home, is not that difficult.
No matter why you need to move your LED lights, you don’t need to be afraid of the process because you can accomplish it without removing the paint from the walls, and without causing any further wall damage. But even in case you find some unwanted adhesive residue on the wall, it is quite possible to get rid of it.
A blow dryer and some time are all that is needed. It is preferable to heat the glue before attempting to remove LED strip lights because the strip nearly tears away when the adhesive is softened. If you take your time, neither the wall nor your LED light strip should be harmed.
Follow our guidelines and your walls will be safe!
FAQ
Q: How do you get LED adhesive off the wall?
There are several methods you can apply when trying to remove LED strip light adhesive.
The best technique that we recommend you try is the “heating-and-rubbing” technique, so to say.
You are going to require a blow dryer to warm up the glue to prevent further damage to the wall. Once you have done that and have gently taken the LED strips off, find a dry cloth and a solvent to rub the adhesive off the wall. The most suitable ones for this are acetone, rubbing, and isopropyl alcohol.
Apply the fabric soaked in solvent to the adhesive, then wait a few minutes for it to dry. The residual adhesive should then be removed by rubbing it with the cloth in a circular motion.
Q: How do you remove light adhesive?
Aside from the “heating-and-rubbing” method, there are numerous other techniques that don’t require heating.
To remove LED light glue left over on the wall, you can use, for instance, an absorbent cloth and some warm water.
The cloth or towel you choose should first be soaked in warm water before being wrung out. After covering the adhesive with the cloth, allow it to sit for a time so that the warmth and moisture from the material can soften it. Finally, carefully remove the glue with a scraper or, if you don’t mind, your fingertips.
If you wish to try something else, you will need a heavy-duty lubricant, such as WD-40.
Spray the lubricant evenly over your strip to start, then spread it out with a towel. Next, wait for the glue to dissolve for between 30 minutes and an hour. Once that’s done, you should have no trouble getting rid of it.
When all the LED strip light adhesives from your LED strip light have been removed, inspect underneath each one of them for any other residue. If there is some, get rid of it right away to prevent damage. To do that, you need to clean your wall with some soap and water, or better yet, with alcohol or ammonia.
Q: Can you unstick and restick the LED lights?
Of course, you can! There are several situations you may find yourself in when you need to remove LED light strips and then change the location of your lovely home decoration.
The process is quite simple! Continue reading, and you will find detailed instructions below.
Q: How do you remove LED strip lights from the wall and reuse them?
When the adhesive backing on LED light strips deteriorates or loses its hold on the surface it was first mounted on, resticking them is a frequent solution.
You must properly clean the surface, pick the right adhesive, and apply it uniformly to the LED light strips to efficiently restick them. Before beginning, assemble the appropriate tools, including a pair of scissors, rubbing alcohol or a mild cleaner, a clean cloth or sponge, double-sided tape, or adhesive promoter.
To start, clean the area where the LED strip will be reattached. Wipe the surface with a clean cloth or sponge that has been soaked with rubbing alcohol or a mild cleanser to remove any debris, dust, or oil. Before continuing, make sure the surface is totally dry.
The LED lights should next be prepared by having any traces of the previous LED strip light adhesive removed from the back. Select an adhesive promoter or double-sided tape that is appropriate for the LED light strip and the surface it will be bonded to.
Apply a thin, even coating of an adhesive promoter to the back of all LED light strips, or cut the sticky tape to the same length as the LED strip. Make sure the LED strip is securely and evenly adhered to the surface by pressing down firmly on it. To make a stronger bond, if additional glue is required, use it or apply pressure for a longer time.
Reconnect the LED lights to the power supply after placing them firmly, and you’re good!
